
Getting Started with OpenTelemetry
A guide for experienced developers and those new to the industry in configuring and using OpenTelemetry.
Getting started with OpenTelemetry
In today's modern, complex, distributed, and cloud-native environment, observability turns quite important with respect to ensuring the reliability of a system, performing optimization, and effective troubleshooting. OpenTelemetry has been central in creating a unified standard for collection, processing, and exporting telemetry data around traces, metrics, and logs. However, it can be hard to get started with OpenTelemetry because of its flexibility and depth.
This document aims to guide experienced developers and those new to the industry in configuring and using OpenTelemetry. We'll cover the fundamentals, advanced configurations, and different tools which can be used to streamline the OpenTelemetry experience.
What is OpenTelemetry
OpenTelemetry, being the Cloud Native Computing Foundation (CNCF)-related project, is an open-source project aimed at providing a single set of APIs, libraries, agents, and instrumentation to collect telemetry data out of your services. Such data helps developers and operators gain deep insights into application performance and health.
Core OpenTelemetry Components
- APIs & SDKs: Libraries in Java, Python, Node.js, Go, and many other languages to instrument applications for generation of telemetry data-traces, metrics, and logs.
- Instrumentation libraries: Out-of-the-box libraries for popular frameworks and libraries, which provide automatic instrumentation to avoid the manual work associated with setting up observability.
- OpenTelemetry Collector: A configurable and flexible telemetry data service that receives, processes, and exports it. It may perform transformations, filtering, aggregations, or enrichments prior to exporting to observability back-ends.
- Exporters: Plugins that send out telemetry data to observability backends, including but not limited to Prometheus, Grafana, Jaeger, Datadog.
Challenges in Setting up OpenTelemetry
While OpenTelemetry is feature-rich and highly configurable, high configurability goes hand in hand with complexity-especially for those who are inexperienced in observability or handling complex infrastructure settings. For example, the OpenTelemetry Collector can become too much to configure with the vast number of processors, receivers, and exporters to select from.
Example of setup
To deploy OpenTelemetry in Kubernetes you will need to deploy the OpenTelemetry Collector using Kubernetes resources like ConfigMaps, Deployments, and Services.
Step 1: Create a ConfigMap for OpenTelemetry Collector Configuration
-
Create a Configuration File for the OpenTelemetry Collector
Create a YAML file (
otel-collector-config.yaml) that contains the configuration for the OpenTelemetry Collector. This configuration defines the receivers, processors, and exporters that the collector will use.Here's an example configuration file:
apiVersion: v1 kind: ConfigMap metadata: name: otel-collector-config namespace: default data: otel-collector-config.yaml: | receivers: otlp: protocols: grpc: http: processors: batch: timeout: 10s send_batch_size: 512 memory_limiter: check_interval: 1s limit_percentage: 75 spike_limit_percentage: 10 exporters: logging: loglevel: debug jaeger: endpoint: "jaeger-collector.default.svc:14250" # Replace with your Jaeger endpoint tls: insecure: true # Set to false for production with proper TLS setup service: pipelines: traces: receivers: [otlp] processors: [batch, memory_limiter] exporters: [logging, jaeger] -
Apply the ConfigMap to Your Kubernetes Cluster
kubectl apply -f otel-collector-config.yaml
Step 2: Deploy the OpenTelemetry Collector as a Kubernetes Deployment
-
Create a Deployment for the OpenTelemetry Collector
Create a YAML file (
otel-collector-deployment.yaml) for the OpenTelemetry Collector deployment. This deployment will use the ConfigMap created in Step 1 to configure the Collector.apiVersion: apps/v1 kind: Deployment metadata: name: otel-collector namespace: default spec: replicas: 1 selector: matchLabels: app: otel-collector template: metadata: labels: app: otel-collector spec: containers: - name: otel-collector image: ghcr.io/open-telemetry/opentelemetry-collector-releases/opentelemetry-collector:0.84.0 command: - '/otelcol' - '--config=/etc/otel/config/otel-collector-config.yaml' volumeMounts: - name: otel-collector-config-vol mountPath: /etc/otel/config volumes: - name: otel-collector-config-vol configMap: name: otel-collector-configThis Deployment specifies:
- The OpenTelemetry Collector container image.
- A volume mount to mount the ConfigMap as a file inside the container.
-
Apply the Deployment to Your Kubernetes Cluster
kubectl apply -f otel-collector-deployment.yaml
Step 3: Create a Service to Expose the OpenTelemetry Collector
-
Create a Service for the OpenTelemetry Collector
Create a YAML file (
otel-collector-service.yaml) to expose the OpenTelemetry Collector via a Kubernetes Service:apiVersion: v1 kind: Service metadata: name: otel-collector namespace: default spec: selector: app: otel-collector ports: - protocol: TCP port: 4317 # OTLP gRPC port targetPort: 4317 - protocol: TCP port: 4318 # OTLP HTTP port targetPort: 4318This Service exposes the OTLP gRPC and HTTP ports (4317 and 4318) to enable applications to send telemetry data to the OpenTelemetry Collector.
-
Apply the Service to Your Kubernetes Cluster
kubectl apply -f otel-collector-service.yaml
Step 4: Instrument Your Applications to Send Telemetry to OpenTelemetry Collector
-
Install OpenTelemetry SDKs in Your Applications:
- Install the appropriate OpenTelemetry SDK for your application’s programming language (e.g., Java, Python, Node.js).
-
Configure the Application to Send Telemetry Data:
- Set the OTLP endpoint to the OpenTelemetry Collector service you created (
otel-collector.default.svc:4317for gRPC orotel-collector.default.svc:4318for HTTP).
Example environment variables configuration:
OTEL_EXPORTER_OTLP_ENDPOINT=http://otel-collector.default.svc:4317 - Set the OTLP endpoint to the OpenTelemetry Collector service you created (
-
Instrument Code Using OpenTelemetry SDK:
- Use the OpenTelemetry SDK to add tracing, metrics, and logs to your application code. Ensure the SDK sends the telemetry data to the OpenTelemetry Collector.
Step 5: Verify Deployment and Monitor the OpenTelemetry Collector
-
Check the Status of the OpenTelemetry Collector Pods
Ensure that the OpenTelemetry Collector pods are running without errors:
kubectl get pods -n default -
Check Logs for Errors and Data Processing
View the logs of the OpenTelemetry Collector pod to check for any errors and confirm that it is receiving and exporting telemetry data:
kubectl logs <otel-collector-pod-name> -n default -
Monitor Resource Usage
Monitor CPU, memory usage, and other metrics for the OpenTelemetry Collector to ensure it is running efficiently and adjust resource requests and limits as needed.
Making the Setup of OpenTelemetry Simple: The Core Tools and Features
There are numerous tools and features that can be found to use OpenTelemetry, while some of the tools facilitating accessibility include ways of setting up, configuring, and managing it in a given environment. Now, let's go over these tools and best practices in deploying OpenTelemetry.
Odigos: Rationalizing OpenTelemetry
A tool to ease OpenTelemetry configuration is Odigos.
- Automated Instrumentation: Automatically discovers the applications running in your environment and injects the right instrumentation from OpenTelemetry without code changes.
- Dynamic deployment management: This will automatically configure the topology for OpenTelemetry Collectors to maximize performance with minimum resources.
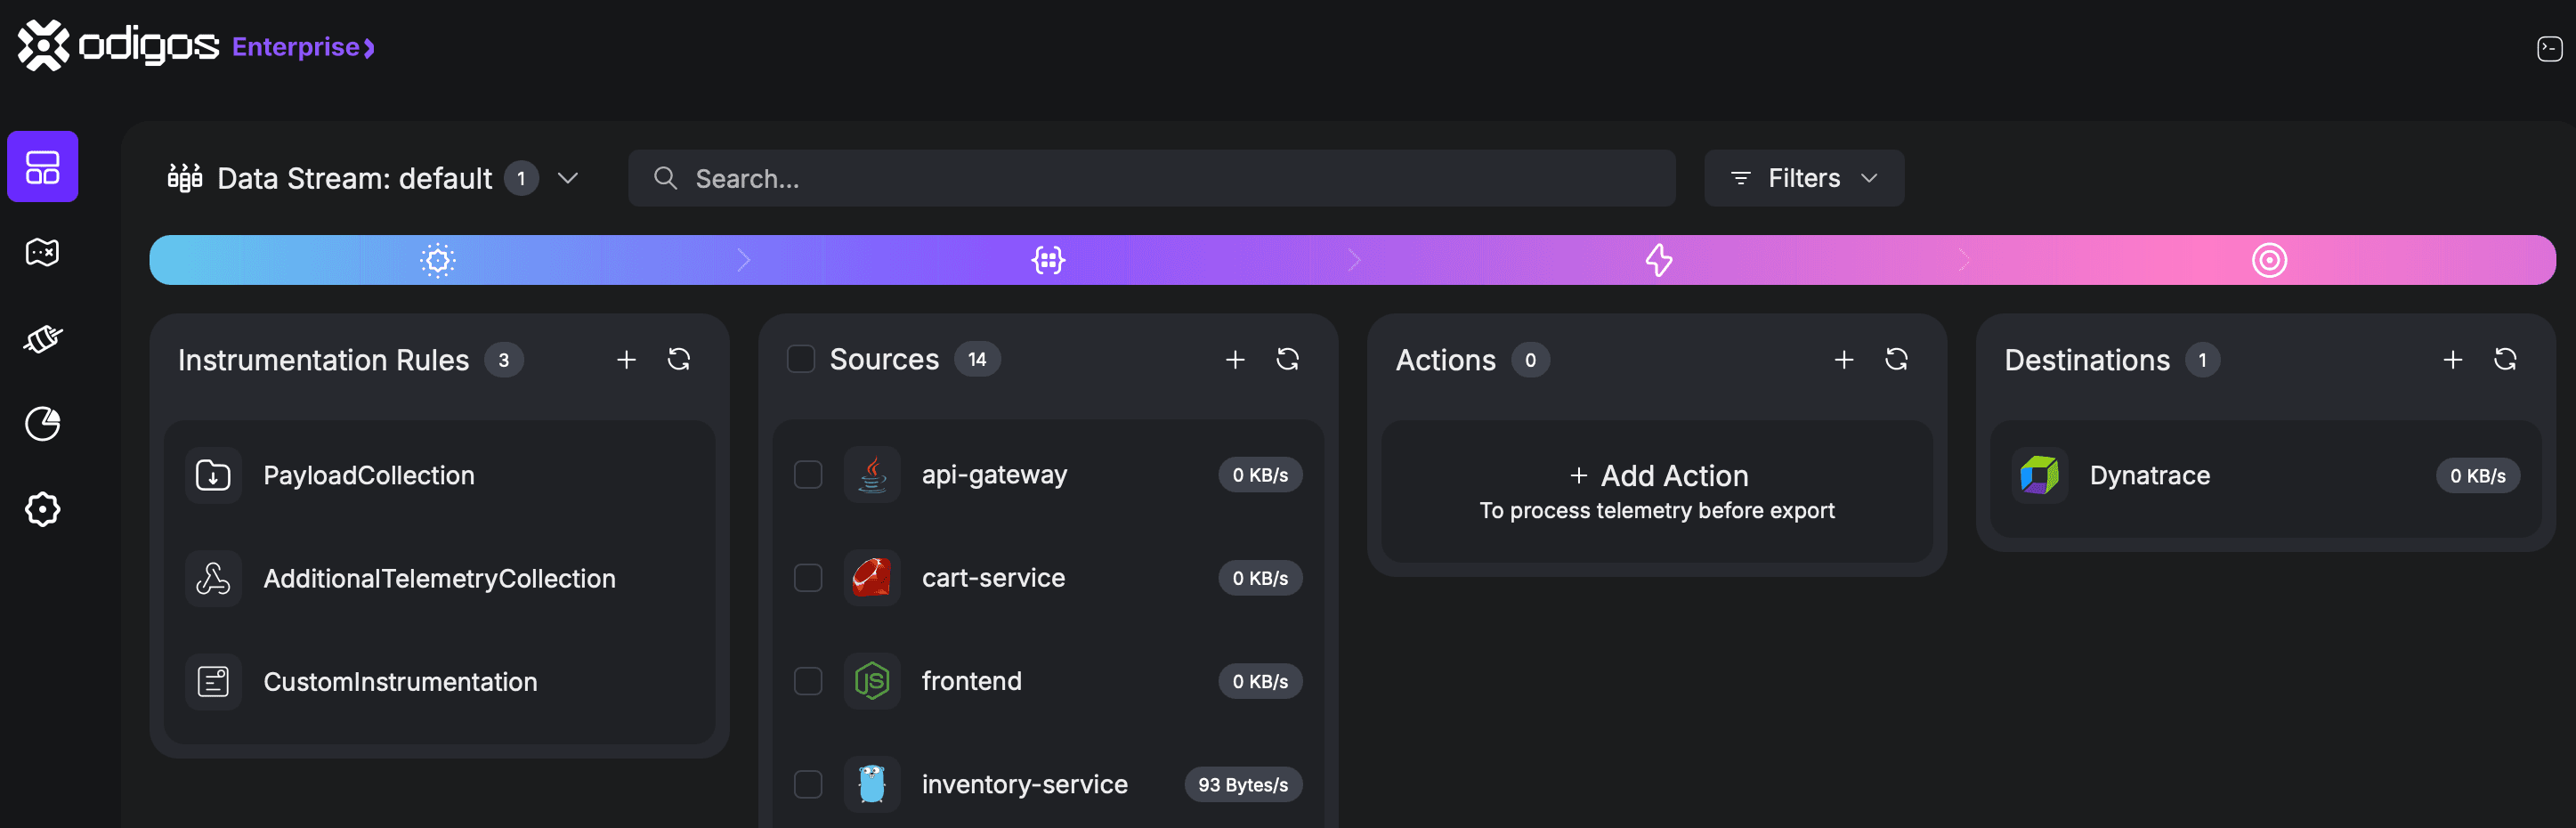
- Integrated UI: Provides an intuitive user interface to configure telemetry collection, apply processing rules, and integrate with multiple observability backends.
Getting Started with Odigos:
- Install Odigos on your Kubernetes cluster by using Homebrew or any other deployment method.
- Use the Odigos UI to select what telemetry data you want to collect and to configure export rules for multiple backends of observability.
Auto-Instrumentation Libraries and Agents
OpenTelemetry provides auto-instrumentation libraries and agents for popular languages like Java, Python, Node.js, and .NET. These libraries simplify instrumentation, enabling automatic collection of telemetry data from common frameworks and libraries.
- Java Agent: We can attach a Java agent to the JVM without changing the code for the application.
- Python Instrumentation: An instrumentation library for Python that automatically instruments Flask, Django, FastAPI, and other frameworks.
- Node.js SDK: Supports automatic instrumentation to Express, HTTP, and other core libraries.
Sample Java Auto-Instrumentation
Download the OpenTelemetry Java agent:
curl -L <https://github.com/open-telemetry>
Run your Java application with the agent:
java -javaagent:path/to/opentelemetry-javaagent.jar -jar myapp.jar
This configuration automatically collects traces and sends them to the OpenTelemetry Collector after setup.
Observability Platforms and OpenTelemetry
This is easy to do because exporters and the OpenTelemetry Collector are very flexible in their configuration and can be added to popular observability platforms such as Prometheus, Grafana, Datadog, and Jaeger.
- Prometheus Remote Write Exporter: Ingesting the metrics into Prometheus with the Prometheus remote write exporter from the OpenTelemetry collector.
- Grafana Tempo: One can configure Grafana Tempo as a trace exporter.
- Jaeger is an open-source tool for distributed tracing that you can easily integrate with OpenTelemetry as a backend.
Sample OpenTelemetry Collector Configuration with Jaeger Exporter
receivers:
  otlp:
    protocols:
      grpc:
      http:

processors:
  batch:
    timeout: 5s
    send_batch_size: 1024

exporters:
  jaeger:
    endpoint: 'jaeger-collector.default.svc:14250' # Replace with your Jaeger Collector endpoint
    tls:
      insecure: true # Set to false for production with proper TLS setup

service:
  pipelines:
    traces:
      receivers: [otlp]
      processors: [batch]
      exporters: [jaeger]
- Receivers: The
receiverssection defines how the OpenTelemetry Collector receives telemetry data. In this example:- The
otlpreceiver is enabled with bothgrpcandhttpprotocols, which means the collector will accept OTLP (OpenTelemetry Protocol) data over gRPC and HTTP.
- The
- Processors: The
processorssection includes abatchprocessor:- The
batchprocessor is used to batch trace data before sending it to the exporter. This improves performance and reduces network load by sending data in batches rather than individually.
- The
- Exporters: The
exporterssection defines how the telemetry data is sent to Jaeger:- The
jaegerexporter sends trace data to a Jaeger backend. Theendpointis set to the Jaeger Collector's gRPC endpoint (jaeger-collector.default.svc:14250), which you need to replace with your actual Jaeger Collector endpoint. - The
tlssection'sinsecurefield is set totruefor development purposes, allowing communication without TLS. For production environments, you should configure proper TLS settings and setinsecuretofalse.
- The
- Service: The
servicesection defines the pipelines that process telemetry data:- The
tracespipeline is defined withotlpas the receiver,batchas the processor, andjaegeras the exporter. This means the pipeline will receive OTLP trace data, batch process it, and export it to Jaeger.
- The
Simplify the Process with Odigos
While the manual configuration of OpenTelemetry Collector offers flexibility, it can be cumbersome and error-prone, especially in dynamic environments. Odigos is a powerful tool that simplifies the entire process of setting up observability. With Odigos, you can easily configure observability backends without manually writing or managing complex configuration files.
Here's how to use Odigos to send traces to a variety of backends, including Jaeger:
- Add a Destination in Odigos:
- In the Odigos UI, navigate to the "Destinations" tab.
- Select Jaeger as the Destination:
- Click "Add Destination" and select "Jaeger" from the list of supported observability backends.
- Provide Jaeger Configuration Details:
- Endpoint: The URL or IP address of the Jaeger Collector or All-in-One instance. For example,
http://jaeger-collector.default.svc:14268/api/tracesfor HTTP orjaeger-collector.default.svc:14250for gRPC. - Protocol: Choose between HTTP or gRPC. Typically, you would use gRPC for better performance and security.
- Endpoint: The URL or IP address of the Jaeger Collector or All-in-One instance. For example,
Odigos automatically handles the creation and management of OpenTelemetry Collectors, applying the necessary configurations to your environment. This makes it significantly easier to set up and maintain observability for your applications, reducing the manual overhead and potential for configuration errors. By leveraging Odigos, you can quickly achieve robust observability with minimal effort, keeping your focus on application development and performance tuning.
Best Practices for Configuration and Deployment
- Start with Minimal Setup: Begin with minimum instrumentation and build on top of it gradually as you come to understand your observability needs better.
- Leverage semantic conventions: Utilize OpenTelemetry semantic conventions as part of your design to ensure consistent telemetry data across different services and environments.
- Optimize Collector Performance: Implement batch processing and retry mechanisms to provide an optimal balance between performance and granularity of data.
- Secure Telemetry Data: Data in transit should be encrypted, and sensitive data should be masked or purged at the collection point.
Troubleshooting and Common Pitfalls
Given that OpenTelemetry setup is a learning curve, these are some of the common pitfalls and how to overcome them:
- Misconfigured Collector: Double check YAMLs for errors. Use tools like kubectl describe to examine resources for configuration errors.
- Data Not Appearing in Observability Back-Ends: Make sure you have the right endpoints and exporters set in your configuration, check connectivity, and check your authorization settings.
- High Latency or Overhead: Go check the configuration, if it is really for aggressive sampling rates, or the processor is inefficient and causing performance bottlenecks.
Conclusion
OpenTelemetry is a very strong and flexible observability framework, but it may be hard to get started with. If you are an experienced developer, these tools are just a walk in the park. If you're starting out, though, with the existence of tools like the OpenTelemetry Operator, Odigos, and auto-instrumentation libraries, this becomes easy for developers at both beginner and experienced levels. With the help of those tools and following best practices, one can come up with a well-configured observability pipeline, providing deep insights into health and performance for your applications.
Further Reading
More from the blog.
Stop guessing. Ask production.
One agent. One service. See how Odigos helps answer a production question.